Annotation Editor
The Annotation Editor allows users to create and annotate clips for audio and video files. The Annotation Editor allows users to create and annotate clips for audio and video. These are useful for marking specific timestamps in an audio or video recording, and annotating with text.
The Annotation Editor is only available in CollectiveAccess for audio recordings, videos, or other audiovisual media.
Creating Annotations
To create an annotation, media must already be uploaded into CollectiveAccess. To open the Annotation Editor, navigate to any audio/video record.
Select the Media tab on the left side of the record’s screen:
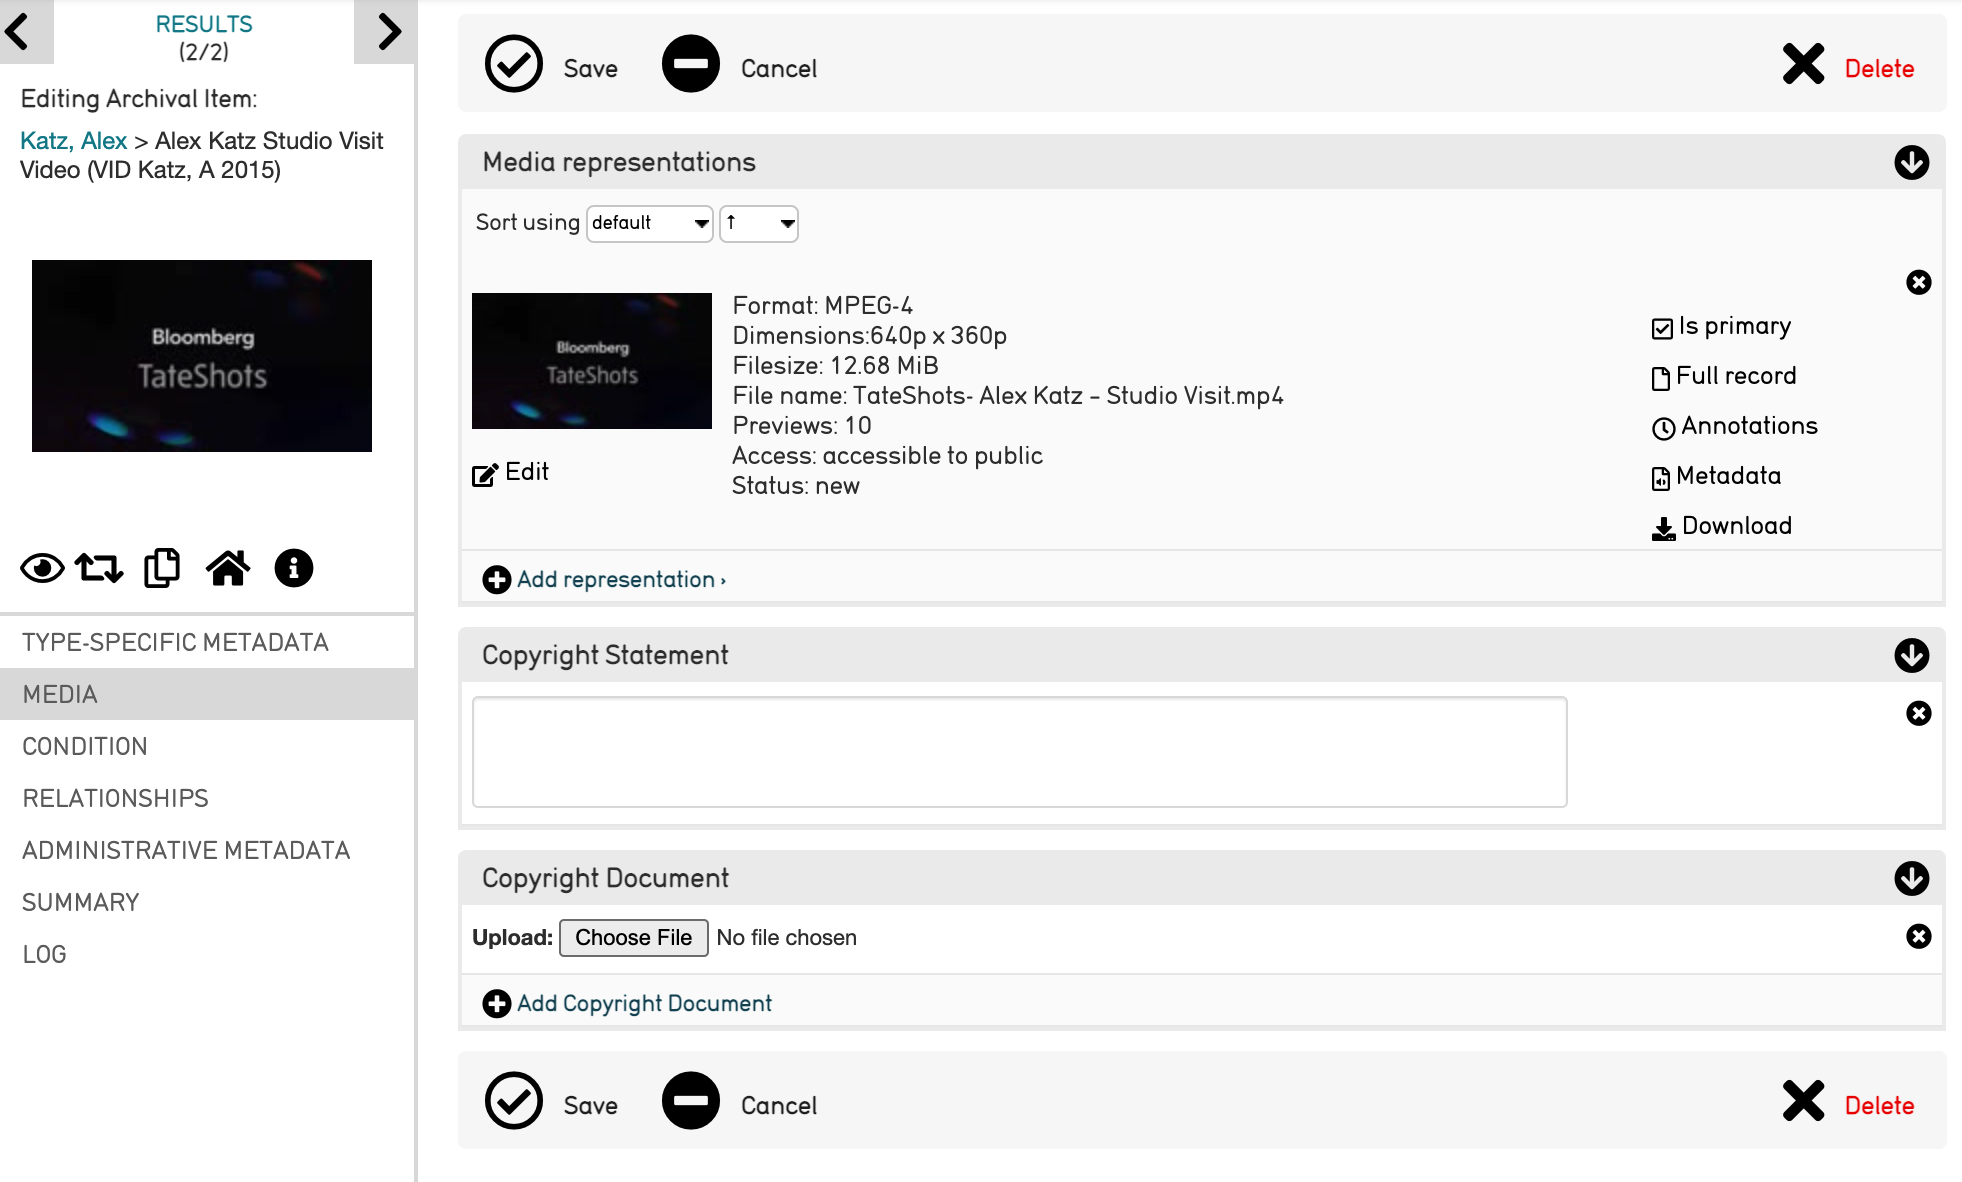
The media tab of a record in CollectiveAccess, which shows the media representation and other metadata.
From this tab, a number of options are available to the right, within the Media representations field. These include:
Is primary: Set the media representation as the primary display image. This is helpful if multiple images, or other media files are associated with a single object.
Full record: Displays the record for the media file.
Annotations: Opens the Annotations editor.
Metadata: Displays the extracted metadata from the media file.
Download: Downloads the media file.
From here, select Annotations.
Another screen will be displayed:
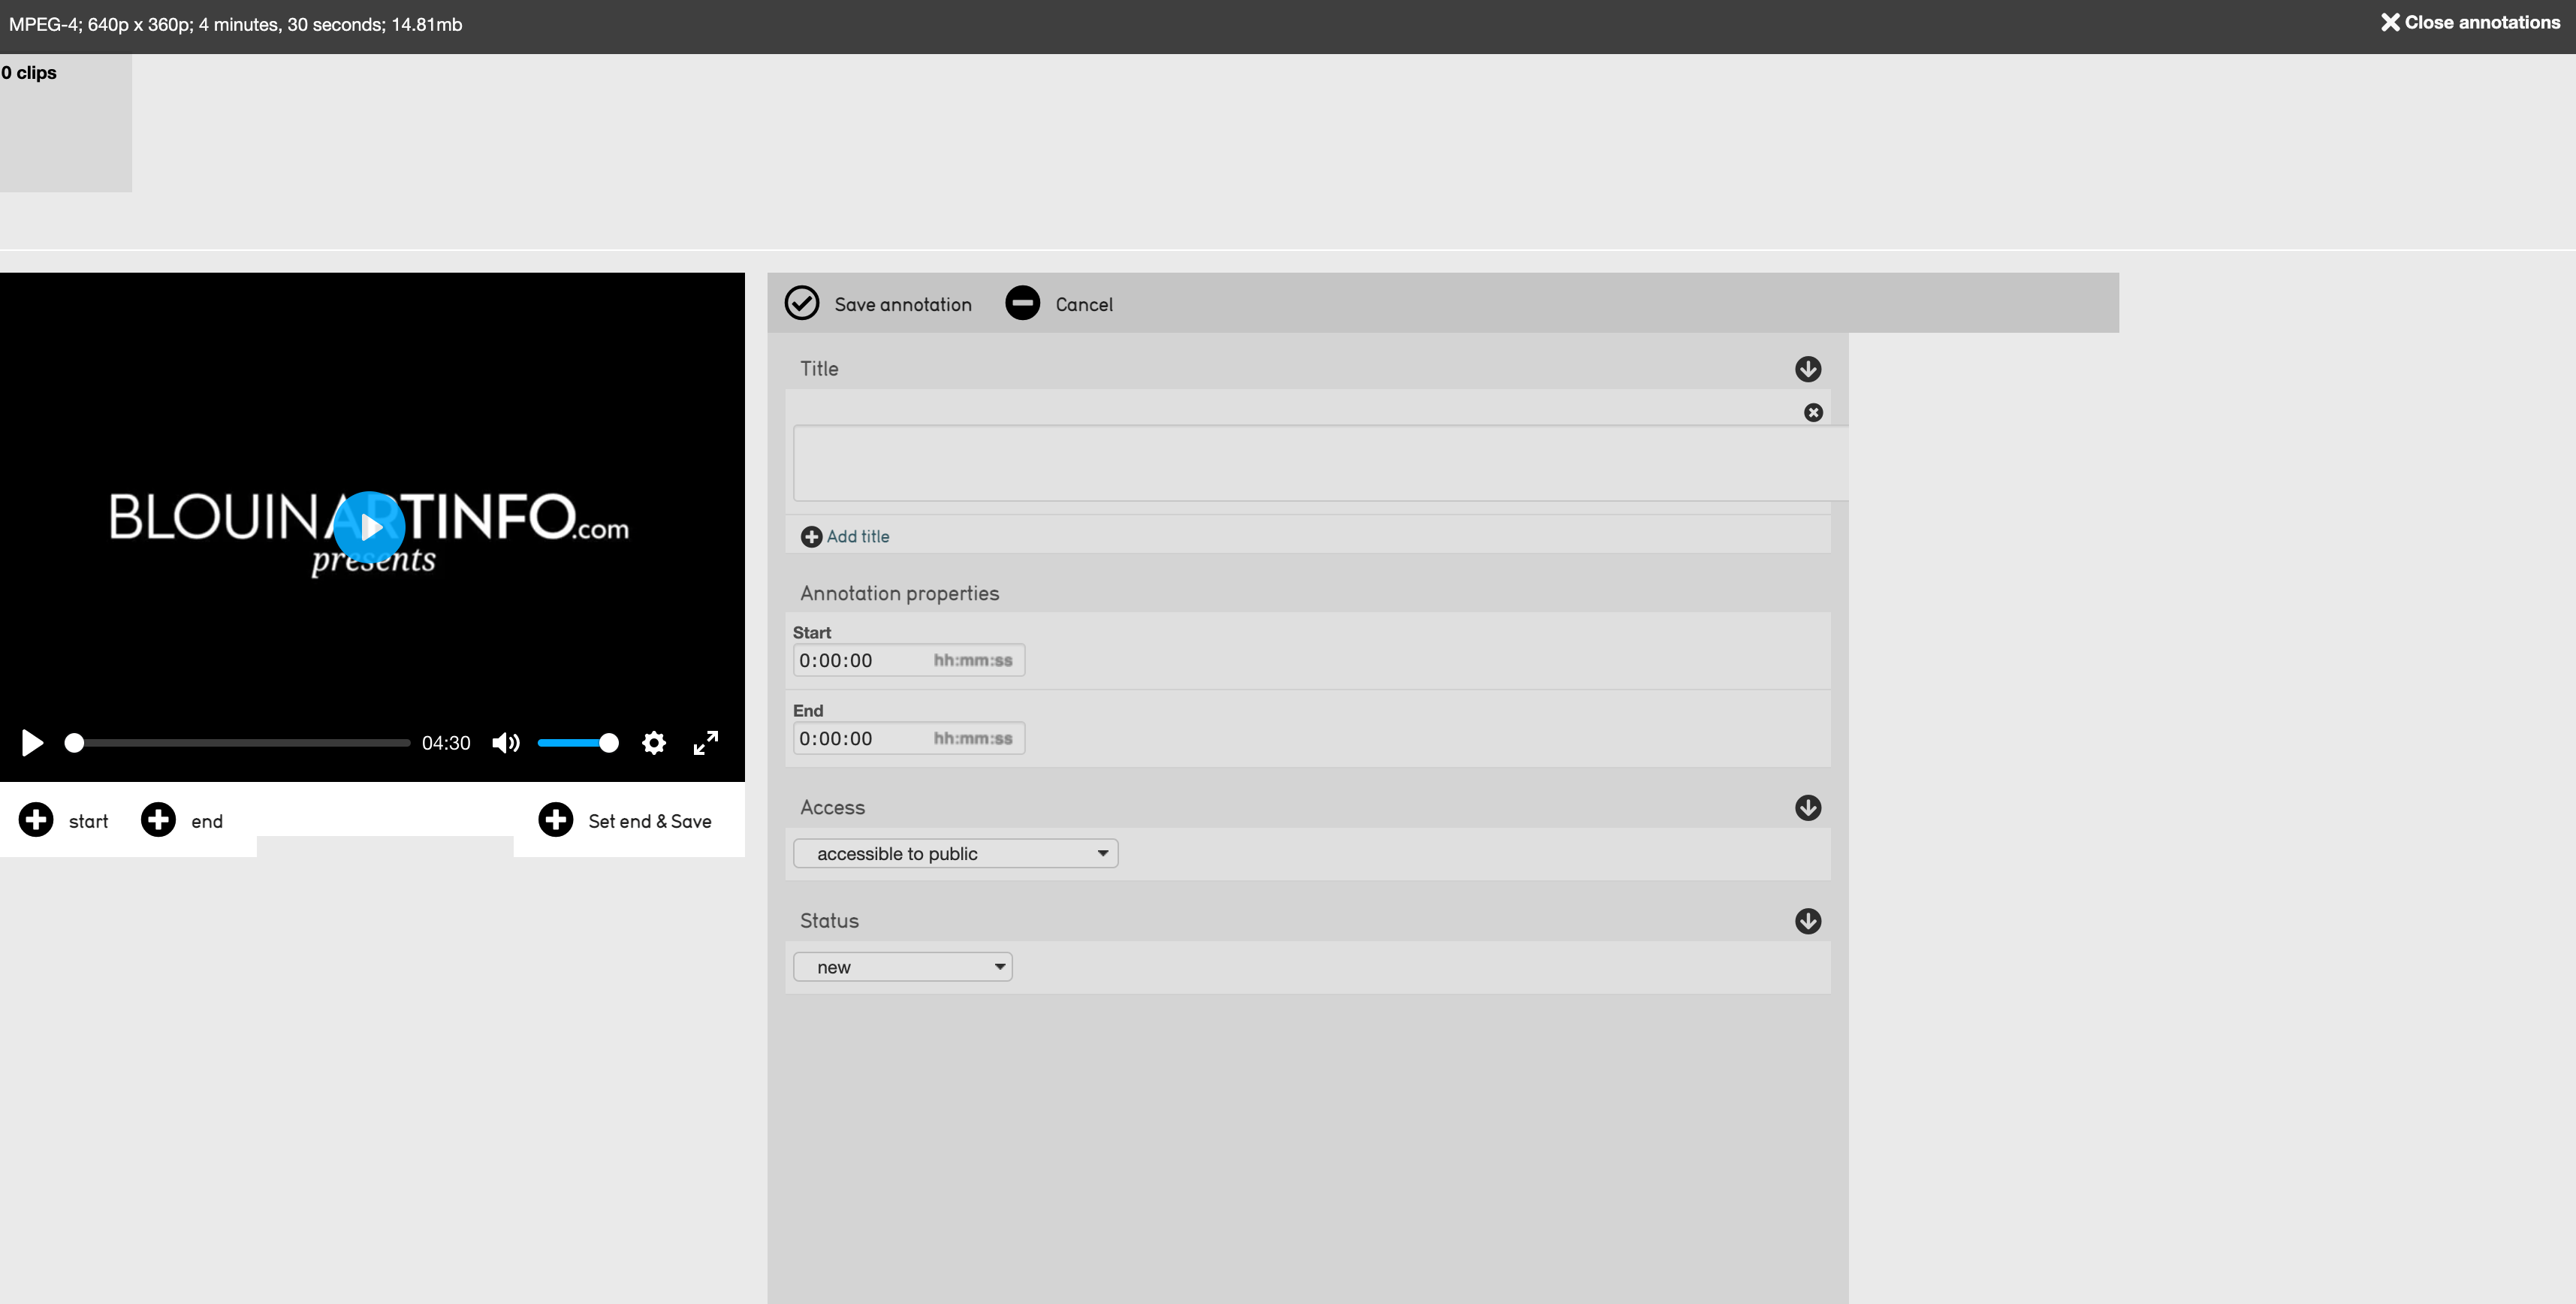
The Annotation editor screen.
Note at the top left of the screen, there are 0 clips. Once clips are created, they will appear at the top of the screen.
Creating Clips to Annotate
To create clips to annotate on the Annotation Editor screen, select start to the right of the plus icon. 
This will automatically play the audio or video. Select end to the right of the plus icon  to end the clip.
This will set both start and endpoints for each annotated clip, whose timestmamps will appear in the metadata. Supply metadata for each annotation by filling out the fields to the right of the audio or video. Like all editors in CollectiveAccess, the annotation form can be customized with any metadata elements or relationship bundles (to entities, places, etc.) The default configuration includes Title and Annotation Properties (Start and End time codes). To customize the form, go to Manage-Administration-User Interfaces and open the “representation annotations” editor. Follow the link for more information on UI customization.
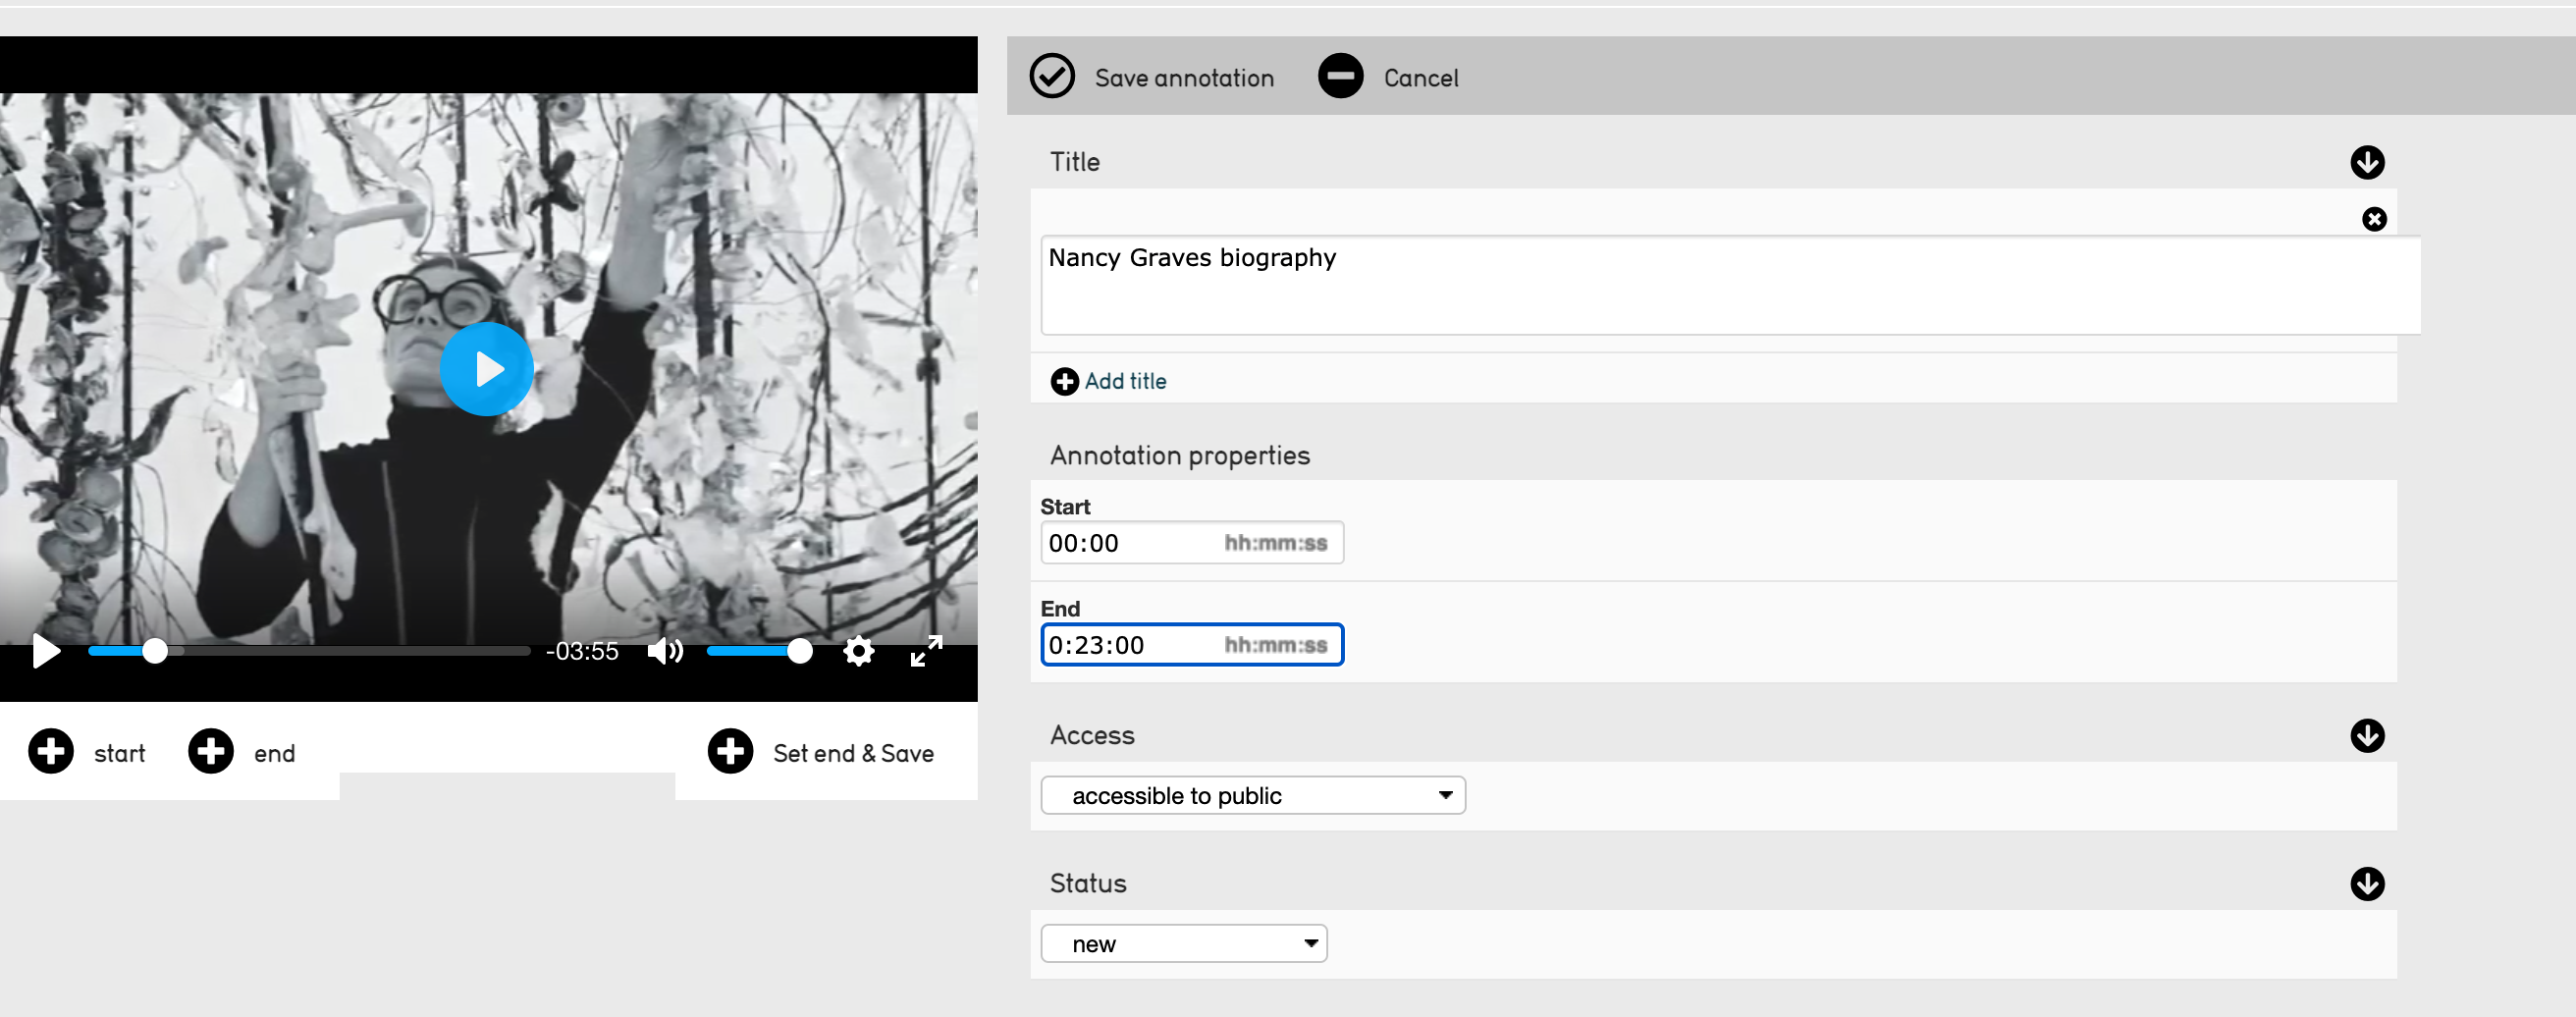
Creating an annotation.
Note
Annotations will only become available once a start and endpoint has been selected. Then, the metadata can be customized and the annotated clip created and saved.
Once the start and endpoints, and metadata, have been selected and filled out, select save annotation. Saved annotations will appear horizontally at the top of the editor in the carousel. From there they can be opened for further editing, or deleted.
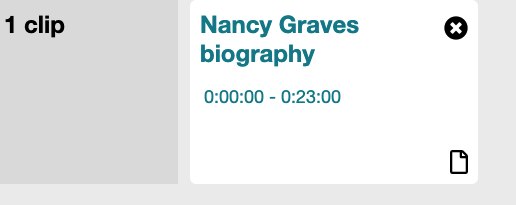
The annotation.
Once all annotations are made and saved, select close annotations at the top right of the screen.
All options for editing annotations are explained in the table below:
Option |
Description |
|---|---|
New Clip |
Sets the start time code at the current playback time of the audio or video. It also sets the end time to 10 seconds later, which can be changed with the “End”option. “New Clip” also enables the “Start” and “End” options to begin creating further annotations |
Start |
This sets the “in” point (or beginning) of a new clip. Click as a video or audio is playing, or set the media player’s horizontal scroll bar manually |
End |
This sets the “out” point (or ending) of a new clip. Click as video or audio is playing, or set the media player’s horizontal scroll bar manually. Once the clip is created, you may annotate by supplying metadata for the clip and Saving |
Set end & Save |
For “rapid” annotating. This will set the “out” point, automatically save on annotation, and then set an “in” point at the previous “out,” to begin a new clip. This allows you to rapidly create clips as media is being played, for later annotating. Once clips are created, you can open them for editing from the carousel at the top of the editor |
Viewing, Editing, or Deleting Annotations
To view annotations that have been made, edit annotations, or delete annotations, navigate to the Annotation Editor screen.

Each annotation has a small page icon in the lower right corner. Select this icon to edit the annotation.
Clip Carousel
The clip carousel is the display of saved annotations that appears at the top of the screen.
